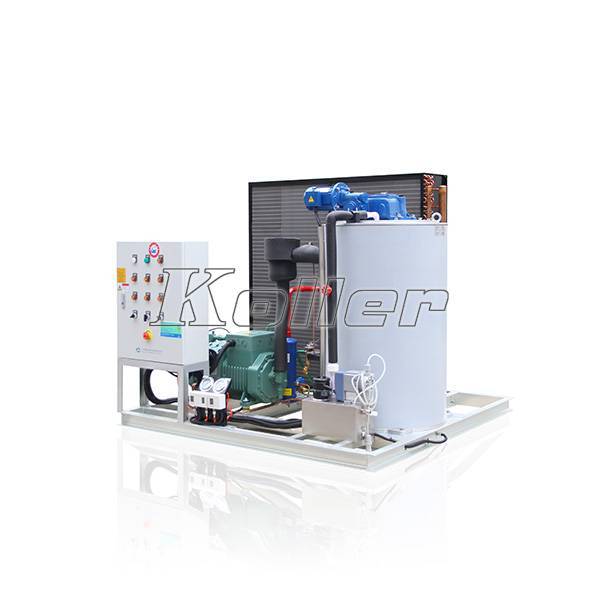
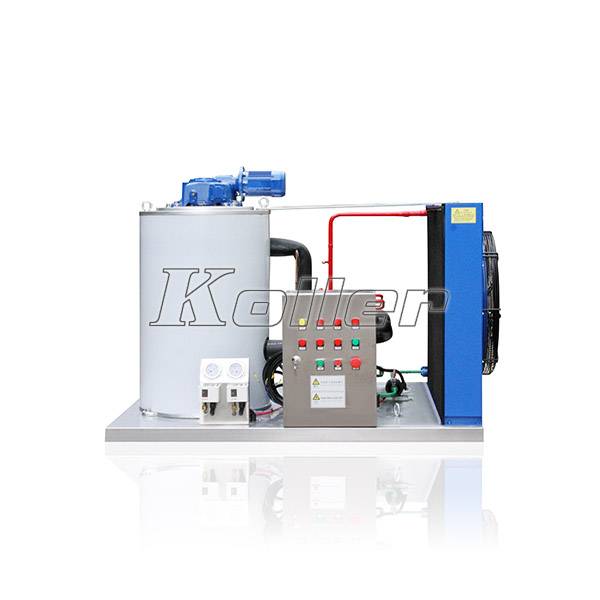
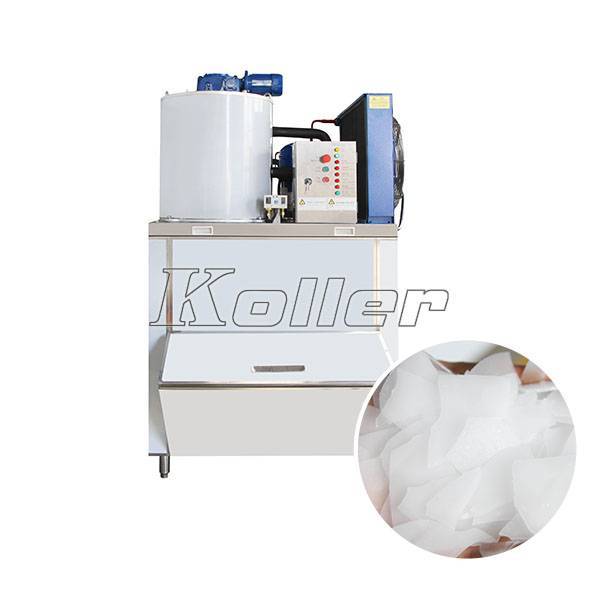
Construir um freezer é uma excelente solução para empresas que exigem armazenamento a frio em larga escala. Se você está na indústria de alimentos, possuir uma fábrica de gelo, ou operar uma configuração industrial independente, A construção de seu próprio freezer pode ser uma alternativa econômica para a compra de uma unidade pré-fabricada.
Neste guia, Vamos orientá -lo durante todo o processo, cobrindo tudo, desde planejamento e materiais até instalação e isolamento. Até o final, Você saberá como fazer uma caminhada caseira no freezer que é eficiente e durável.
Etapa 1: Planejamento e design
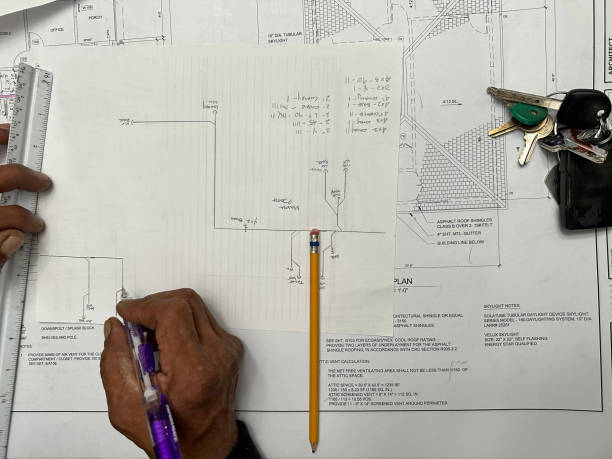
Antes de abrir o chão, O planejamento cuidadoso é essencial para garantir que seu freezer seja funcional e com eficiência energética. Considere fatores como o tamanho, Requisitos de temperatura, e localização. Você também deve decidir se o seu freezer será interno ou ao ar livre, Como isso afeta os requisitos de isolamento e prova de intempéries.
As principais etapas de planejamento incluem:
- Selecionando o tamanho: Determine quanto espaço de armazenamento é necessário e planeje de acordo.
- Escolhendo o local certo: Verifique se a área está acessível e possui ventilação adequada.
- Orçamento para materiais e equipamentos: Calcule os custos potenciais e compare DIY vs. Opções pré-construídas.
- Garantir a conformidade com os códigos de construção locais: Verifique os regulamentos antes de iniciar a construção.
Etapa 2: Reunir materiais e equipamentos necessários
Monte todos os materiais e ferramentas necessários antes de iniciar a construção para otimizar o processo. Os componentes essenciais incluem:
- Pregos de metal: Para enquadrar as paredes e o teto.
- Painéis isolados: Painéis de alta qualidade para paredes e isolamento do teto.
- Materiais de piso: Durável, Materiais não deslizantes adequados para ambientes de baixa temperatura.
- Barreira de vapor: Para evitar a infiltração de umidade.
- Suprimentos para impermeabilização: Selantes e fitas para garantir a construção hermética.
- Portas: De serviço pesado, portas isoladas com mecanismos de vedação confiáveis.
- Componentes do sistema de refrigeração: Unidades de refrigeração e evaporadores de tamanho adequado para o seu freezer.
Verifique se todos os materiais são de alta qualidade para melhorar a longevidade e a eficiência do freezer.
Etapa 3: Construa o quadro
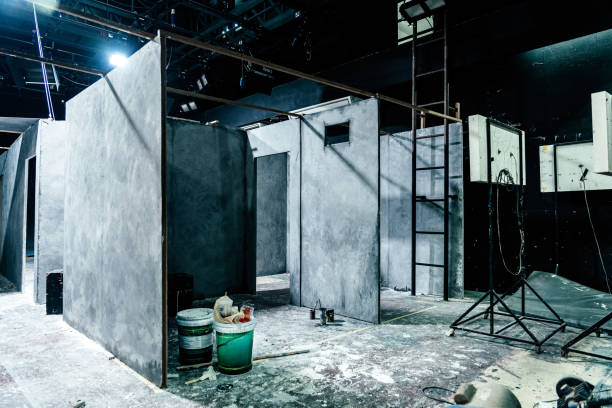
O quadro serve como a espinha dorsal do seu freezer. Se você está se perguntando como fazer uma caminhada caseira no freezer, Começar com uma estrutura robusta é crucial. Os melhores materiais para enquadrar incluem:
- Madeira de madeira ou metal: O metal é mais durável, Mas a madeira é mais fácil de trabalhar com.
- Cantos e articulações reforçadas: Garantir a estabilidade estrutural impedirá problemas futuros.
- Painéis de isolamento de corte de precisão para caber entre o enquadramento para uma vedação apertada.
Etapa 4: Isolar as paredes e o teto
O isolamento adequado é a chave para a eficiência energética e o controle de temperatura. Use painéis de espuma de poliuretano ou poliestireno para retenção térmica ideal. Verifique se todas as costuras estão seladas com isolamento de espuma de spray para eliminar vazamentos de ar.
Dicas profissionais para melhor isolamento:
- Aplique uma barreira de vapor para evitar a condensação e o acúmulo de mofo.
- Verifique se o isolamento se estende ao teto e aos cantos para evitar a ponte térmica.
- Verifique duas lacunas e sele qualquer possível vazamento de ar antes de passar para a próxima etapa.
Etapa 5: Instale o piso
Um piso adequadamente isolado é fundamental para manter baixas temperaturas. Se você está pesquisando como construir uma caminhada no piso do freezer, Siga estas etapas:
- Prepare a base: Se instalar no concreto, Aplique uma camada de isolamento no topo.
- Deite painéis de espuma rígida: Isso ajuda a prevenir a transferência de calor.
- Adicione madeira compensada ou folhas de metal reforçado para durabilidade.
- Sele o piso com revestimentos impermeáveis para proteger contra a umidade.
Etapa 6: Instale a porta(s)
A porta do freezer é um dos componentes mais cruciais para garantir um controle eficiente da temperatura. Se você está se perguntando como fazer uma caminhada na porta do freezer, Você pode comprar uma porta isolada pré-fabricada ou construir um você mesmo. Para uma abordagem de bricolage:
- Use uma porta de núcleo sólido e reforçá -lo com painéis de isolamento.
- Instale juntas pesadas Para evitar vazamentos de ar.
- Verifique se a porta tem um mecanismo de fechamento automático para manter a eficiência energética.
- Use dobradiças e bloqueios duráveis Para confiabilidade a longo prazo.
Etapa 7: Impervenção do tempo
Para manter o ambiente interno do freezer e impedir que elementos externos comprometam sua eficiência, Aplique materiais à prova de intempéries em torno de todas as bordas, articulações, e costuras. Use calafetagem de alta qualidade ou fitas especializadas à prova de intempéries para seladas, prestando atenção especial aos cantos e áreas onde diferentes materiais se encontram. A impermeabilização adequada não apenas aumenta a eficiência energética, mas também prolonga a vida útil do freezer, impedindo que os danos relacionados à umidade.
Etapa 8: Instalação do sistema de refrigeração
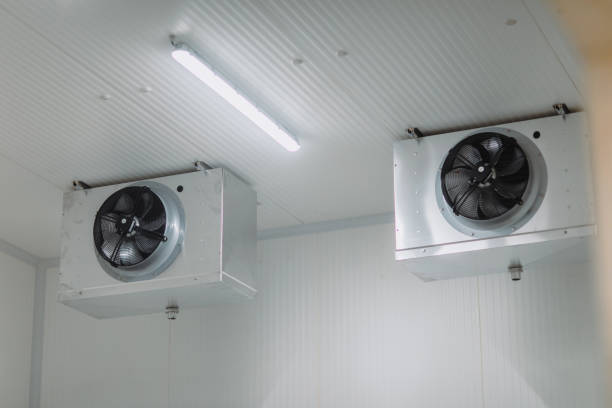
Instale os componentes do sistema de refrigeração, incluindo unidades de refrigeração e evaporadores, Após as diretrizes do fabricante. Verifique se o sistema é de tamanho adequado para as dimensões do freezer e o uso pretendido para manter temperaturas internas consistentes. A instalação e a calibração adequadas do sistema de resfriamento são essenciais para operação eficiente e consumo de energia.
Etapa 9: Inspeção e teste final
Realizar uma inspeção completa de toda a estrutura, Verificando qualquer defeitos de construção, articulações não seladas, ou questões em potencial. Teste o sistema de refrigeração para verificar ele e mantém a temperatura desejada. Abordar qualquer problema imediatamente para garantir que o freezer opere com eficiência e atenda a todos os padrões de segurança.
Custo de instalação do cooler walk-in
Compreender os custos associados à construção de um freezer é crucial para orçamento e tomada de decisão. Vários fatores influenciam a despesa geral:
- Instalação adequada & Construção: Ao considerar quanto custa construir uma caminhada no freezer, A instalação desempenha uma função fundamental. A contratação de profissionais para o trabalho elétrico e de refrigeração pode aumentar os custos, mas garantir uma melhor eficiência e longevidade.
- Isolamento preciso:Isolamento adequado do chão ao teto, incluindo portas, é essencial para um freezer ou refrigerador bem construído. Sua principal função é manter o calor fora e frio em, resistência à transferência de temperatura externa. A Lei de Independência e Segurança Energética (EISA) Define padrões de isolamento, Portanto, permanecer informado sobre esses requisitos é crucial ao comprar e instalar uma unidade.
- Considerações de localização: Sua localização geográfica afeta os custos devido a taxas de mão -de -obra variadas, Preços de materiais, e necessidades de eficiência energética. Adicionalmente, Os freezers internos custam menos à prova de intempéries em comparação com as unidades externas.
É aconselhável obter cotações detalhadas dos contratados e considerar o investimento inicial e os custos operacionais de longo prazo ao orçamento para um freezer.
Considerações adicionais
Segurança primeiro
A segurança deve sempre ser uma prioridade em projetos de construção para evitar lesões e riscos à saúde. A adesão à construção de códigos e regulamentos é essencial para minimizar os riscos, É por isso que a busca de assistência profissional para sistemas elétricos e de refrigeração é altamente recomendada.
Assistência profissional
Construir um freezer de walk-in é uma tarefa complexa que requer habilidades avançadas de construção e uma sólida compreensão dos principais componentes como isolamento. No entanto, Isso não significa que você não pode construir um você mesmo. Se você não tem a experiência necessária, Consultar um profissional pode garantir que seu freezer seja construído de maneira eficiente e correta.
Custo contra. Análise de benefícios
Avaliar e avaliar os custos totais envolvidos é importante se você estiver tendo dúvidas sobre a criação do seu freezer de entrada. Os materiais e custos de construção, trabalho, e o uso de energia deve ser avaliado para determinar qual é o melhor – o freezer pré-construído ou um que é construído do zero.
Conclusão
Construir um freezer é um projeto complexo e gratificante que requer planejamento cuidadoso, Materiais de qualidade, e execução precisa. Seguindo cada etapa descrita neste guia - desde o design e o isolamento até a instalação do sistema de ressecamento e refrigeração - você pode criar um eficiente, durável, e freezer econômico adaptado às suas necessidades.
Enquanto a construção de bricolage é possível, O recrutamento de assistência profissional para componentes críticos, como instalação de refrigeração e fiação elétrica, pode garantir a conformidade com os regulamentos de segurança e aprimorar a longevidade do sistema. Adicionalmente, Considerando os custos operacionais de longo prazo ao selecionar sistemas de isolamento e refrigeração podem levar a uma economia significativa de energia ao longo do tempo.
Se você deseja expandir seus recursos de armazenamento de alimentos, Inicie um negócio de produção de gelo, ou otimizar um sistema de refrigeração industrial, Construir um freezer bem projetado é um investimento valioso.
Perguntas frequentes
Posso construir um freezer que você mesmo?
Sim, É possível construir um freezer caseiro se você tiver as habilidades e o acesso necessários a materiais de alta qualidade. No entanto, Tarefas como instalação do sistema de refrigeração e trabalho elétrico podem exigir assistência profissional para garantir a segurança e a eficiência.
Que tipo de piso é o melhor para um freezer de Walk-in?
Um piso de freezer que walk-in deve ser durável, não deslizamento, e resistente à umidade. As opções comuns incluem concreto revestido de epóxi, piso de painel isolado, ou chapa de vinil reforçada. Adicionar uma barreira de vapor sob o piso pode ajudar a evitar problemas relacionados à condensação.
Quanto tempo leva para construir um freezer de entrada?
A linha do tempo depende da complexidade do design, Disponibilidade de materiais, e se os empreiteiros profissionais estão envolvidos. Um freezer de pequeno a médio porte pode levar de alguns dias a algumas semanas para concluir, com tempo adicional necessário para inspeções e testes.
Quanto custa construir um freezer de entrada?
O custo de construção de um freezer varia com base no tamanho, materiais, qualidade de isolamento, e capacidade do sistema de refrigeração. Um pequeno projeto de bricolage pode custar entre $3,000 e $10,000, enquanto os freezers de grau comercial podem variar de $10,000 para $50,000 ou mais. Despesas adicionais incluem trabalho, permissões, e custos de energia.
Como faço para fazer uma porta de freezer walk-in?
Uma porta bem isolada e adequadamente selada é essencial para manter temperaturas consistentes. Você pode comprar uma porta de congelador isolada pré-fabricada ou construir uma usando isolamento de espuma rígida imprensada entre painéis de madeira compensada, Garantir uma vedação apertada com as dobradiças de clima de clima e de serviço pesado.
Quais são as vantagens de construir um freezer personalizado?
Um freezer personalizado permite otimizar o espaço de armazenamento, Selecione materiais de alta qualidade, e integrar componentes com eficiência energética. Enquanto os modelos pré-construídos são convenientes, Um freezer de bricolage pode ser adaptado para atender aos requisitos de negócios ou industriais específicos, potencialmente levando a economia de custos a longo prazo.

