Questa guida completa spiega come personalizzare la tua passeggiata più fresca dalla pianificazione iniziale all'installazione. Copre le applicazioni del settore, processi passo -passo, Progettazione efficiente dal punto di vista energetico, Fattori di costo, e conformità agli standard internazionali. I lettori acquisiranno approfondimenti sulle scelte di materiale tecnico, Opzioni di refrigerazione, e strategie di manutenzione a lungo termine essenziali per il successo professionale e normativo.
Cos'è una passeggiata personalizzata in più fresco e perché importa per le aziende?
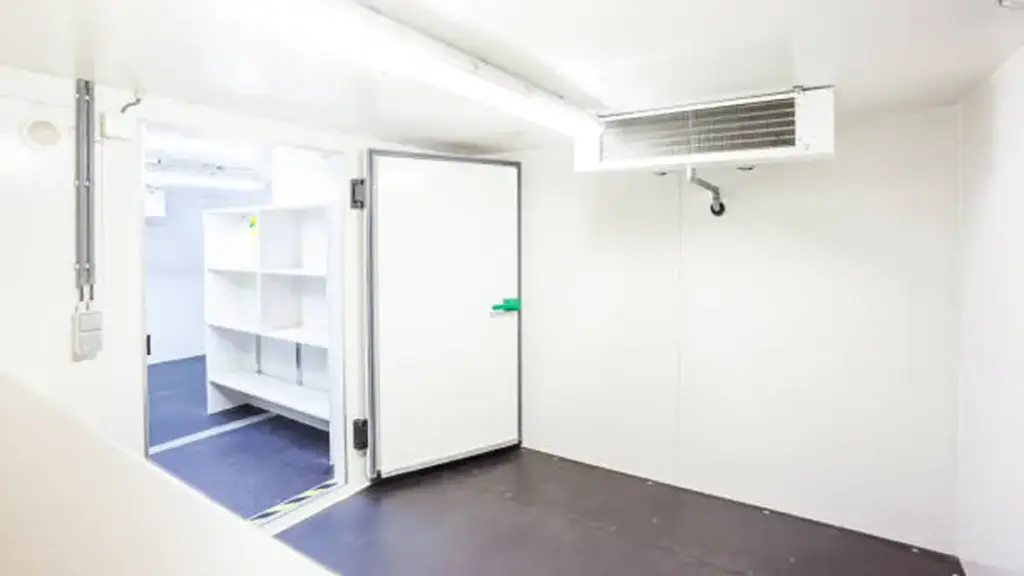
Una passeggiata personalizzata nel dispositivo di raffreddamento è un'unità di archiviazione a temperatura controllata progettata e costruita in base a requisiti operativi specifici piuttosto che a dimensioni o funzionalità standardizzate. La personalizzazione in genere include dimensionamento su misura, spessore dell'isolamento, Tipo di refrigerazione, Configurazione della porta, e layout interno per allinearsi con un flusso di lavoro unico e vincoli spaziali.
Per le aziende, La personalizzazione è essenziale per garantire la conformità normativa, efficienza energetica, e conservazione ottimale del prodotto. Allineando le specifiche più fighi con gli standard del settore come Ashrae E NSF International linee guida, Le aziende possono soddisfare i requisiti di sicurezza alimentare e di qualità riducendo al minimo i costi operativi. Questo approccio supporta anche la scalabilità, Consentire l'espansione della capacità futura senza importanti modifiche strutturali.
Processo passo -passo: Come personalizzare la tua passeggiata in più figo dal pianificazione al completamento
Fare un passo 1: Definire le esigenze di archiviazione e gli obiettivi operativi
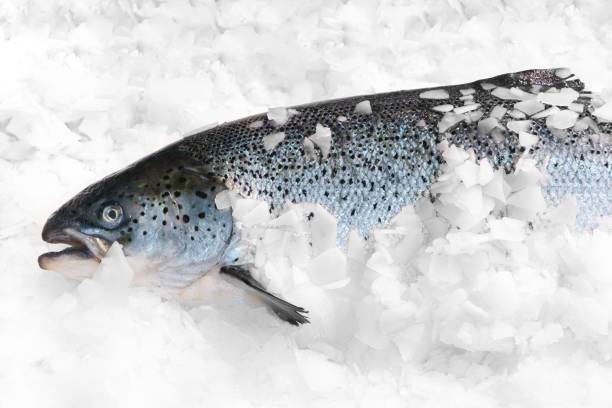
Definire accuratamente le esigenze di archiviazione è la base di come personalizzare la tua passeggiata in modo più figo efficacemente. Inizia identificando quali prodotti verranno archiviati: MEAT, produrre, prodotti farmaceutici, bevande, o fiori. Ogni categoria di prodotti ha richieste ambientali specifiche, che influiscono direttamente sul dimensionamento più freddo, isolamento, e conformità normativa.
- Cicli di volume e utilizzo: Stimare il volume di stoccaggio del picco e la frequenza di accesso. Le operazioni ad alta turnover possono dare la priorità a zone di caricamento e scarico rapido, Mentre lo stoccaggio a lungo termine può richiedere un isolamento più spesso per l'efficienza energetica.
- Priorità del flusso di lavoro: Prendi in considerazione il flusso di traffico tra merci in arrivo e in uscita; Alcune industrie beneficiano di zone separate per prevenire la contaminazione incrociata.
- Obiettivi normativi: Conferma gli standard applicabili, come NSF/ANSI 7 per sicurezza alimentare o HACCP per il controllo dei pericoli, Per garantire le scelte di progettazione soddisfare i criteri di ispezione.
La tabella seguente riassume le condizioni di archiviazione tipiche e le priorità di personalizzazione per le principali applicazioni. Questi parametri forniscono un punto di partenza; Le specifiche finali dovrebbero essere confermate con il fornitore in base al carico del prodotto e ai codici locali.
| Applicazione del settore | Intervallo di temperatura consigliato | Gamma di umidità | Priorità di personalizzazione |
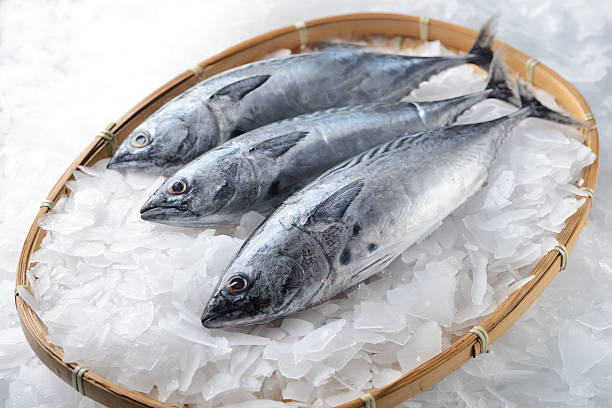
| Trasformazione della carne / Magazzinaggio (Pesca) | Da -25 ° C a -12 ° C. | 75–85% | Pavimenti rinforzati, Finiture sanitarie, Sistemi ferroviari per la movimentazione delle carcasse |
| Produrre / Archiviazione da bevanda | 0 ° C a 4 ° C. | 85–90% | Design multizono, porte anti -condensazione, illuminazione ad alta efficienza energetica |
| Farmaceutico / Biologici | 2 ° C a 8 ° C. | 30–50% | Controlli di precisione, potere di backup, Conformità GMP/FDA |
| Floricoltura (Deposito dei fiori) | 1 ° C a 3 ° C. | 85–95% | Pannelli ad alta umidità, Illuminazione filtrata da UV |
| Foodservice generale | 0 ° C a 5 ° C. | 70–85% | Racking modulare, Finiture conformi a NSF, costo equilibrato |
Questo approccio integrato garantisce l'ambiente, operativo, e i fattori di conformità sono considerati nella prima fase della personalizzazione, guidare le decisioni accurate di dimensione e budget successive.
Fare un passo 2: Condurre la valutazione del sito e la misurazione dello spazio
Una valutazione accurata del sito garantisce che il dispositivo di raffreddamento si adatti sia fisicamente che operativamente all'interno della struttura. I pianificatori fai -da -te dovrebbero eseguire controlli dettagliati piuttosto che fare affidamento esclusivamente su stime approssimative.
- Misura lo spazio disponibile: Secondo la superficie del pavimento, altezza del soffitto, e capacità di carico strutturale; Conferma l'autorizzazione per porte e unità di refrigerazione.
- Controllo dell'utilità e delle infrastrutture: Verificare la capacità elettrica, drenaggio, e vicinanza alla ventilazione; I siti esterni richiedono misure resistenti alle intemperie.
- Flusso di lavoro e revisione della sicurezza: Mappare il flusso del traffico per evitare i colli di bottiglia; Garantire che le uscite di emergenza rimangano senza ostacoli e rispettino i codici di costruzione locali.
La valutazione completa del sito impedisce costose retrofit e garantisce che il dispositivo di raffreddamento si integrasse perfettamente con le operazioni esistenti.
Fare un passo 3: Piani le dimensioni, Disposizione, e specifiche materiali
Questa fase trasforma i requisiti di archiviazione e i dati del sito in un piano di progettazione pratica.
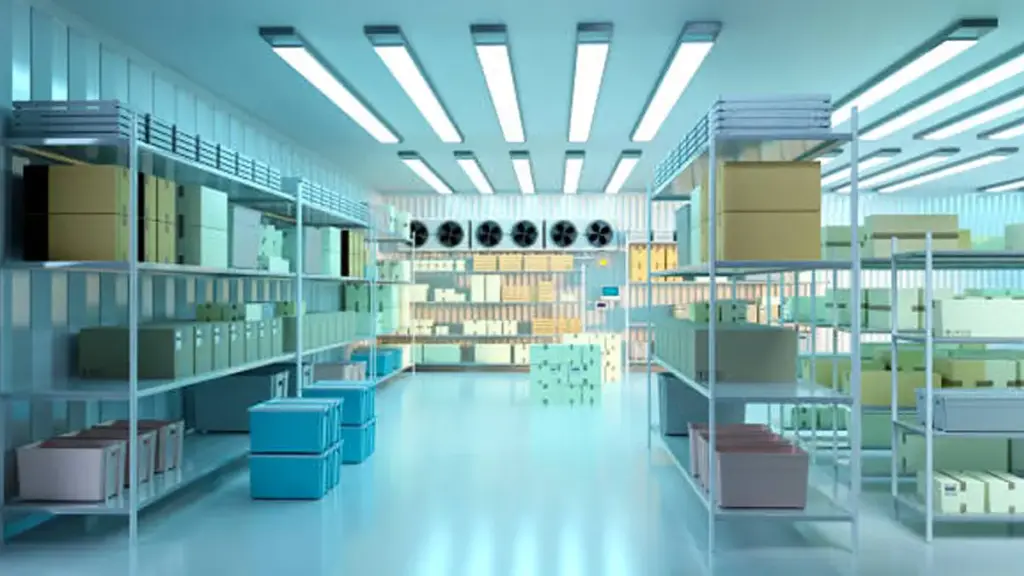
Dimensioni e layout
- Determinare filmati cubici interni in base al volume del prodotto e ai sistemi di scaffalatura.
- Allocare la larghezza del corridoio per il personale e i jack di pallet; Considera Swing vs. porte scorrevoli per ottimizzare il flusso di traffico.
Materiali e isolamento
- Seleziona pannelli poliuretanici o poliisocianurati ad alta densità per prestazioni termiche superiori.
- Scegli le pelli di metallo (acciaio zincato o alluminio) per durata; I pannelli rinforzati in fibra di vetro si adattano agli ambienti umidi.
- Rinforzare l'isolamento del pavimento per carichi pesanti, Soprattutto in Come costruire una passeggiata nel dispositivo di raffreddamento della carne scenari.
Un piano preciso garantisce l'efficienza energetica, durabilità, e conformità agli standard termici di Ashrae, Impostazione di una base solida per la stima e l'installazione dei costi.
Fare un passo 4: Seleziona il sistema di refrigerazione e le caratteristiche di avvantaggi energetici
Opzioni del sistema di refrigerazione
- Valuta le unità auto -congida (più facile da installare, Costo iniziale più elevato) contro. unità di condensazione remota (rumore inferiore, meglio per grandi capacità).
- Abbina la capacità di raffreddamento al carico di calore previsto, Considerando il tipo di prodotto, aperture delle porte, e temperatura ambiente.
Caratteristiche che salutano l'energia
- Integrare evaporatori ad alta efficienza e ventilatori a livello variabile per ridurre l'uso di energia.
- Utilizzare l'illuminazione a LED con sensori di movimento per ridurre al minimo il guadagno di calore.
- Impiega controlli di sfida e tende notturne per migliorare l'efficienza operativa.
Isolamento termico e valore r
- Assicurarsi che i pannelli del muro e del soffitto si incontrano o superino Ashrae 90.1 prestazioni termiche.
- Ridurre al minimo il ponte termico utilizzando guarnizioni continue e cornici delle porte isolate.
Fare un passo 5: Stimare il costo totale e la fattibilità del budget
La stima accurata del costo prevede più del prezzo delle attrezzature; Deve riflettere le dimensioni del raffreddamento, Specifiche materiali, Caratteristiche dell'efficienza energetica, e spese operative a lungo termine. Un quadro di costo chiaro aiuta a determinare Quanto costa una passeggiata più fredda e supporta le decisioni di budget informate.
| Dimensionamento | Costo stimato (Dollaro statunitense) | Driver a costo chiave | Considerazioni sul bilancia |
| Piccole unità (6"Da × 6" a 8 "× 8") | $5,000 - $10,000 | Pannelli di isolamento di base, porta singola, Caratteristiche minime di assistenza energetica | Upfronta in alto consumo di energia costher più elevato se si accede frequentemente |
| Unità medie (10"Da × 10" a 12 "× 12") | $12,000 - $20,000 | Isolamento migliorato, Layout a doppia zona, Sistemi di refrigerazione a metà capacità | Costo equilibrato vs. Efficitabile per aumenti di capacità futura |
| Grandi unità commerciali (>12'× 20') | $25,000+ | Pavimenti pesanti, refrigerazione avanzata, Punti di accesso multipli, conformità con codici industriali più rigorosi (PER ESEMPIO., trasformazione della carne) | Costo di stoccaggio per unità di capitale più elevato e migliori risparmi energetici a lungo termine |
Nota: Tutte le cifre dei costi sono approssimative; I prezzi e le specifiche effettivi devono essere confermati con il fornitore scelto.
Fare un passo 6: Garantire la conformità e ottenere approvazioni normative
Prima dell'inizio della costruzione, Conferma il design più freddo si allinea con NSF/ANSI 7 Standard di sicurezza alimentare e edificio locale applicabile, elettrico, e codici meccanici. Garantire in anticipo tutti i permessi per il dipartimento sanitario richiesto e le approvazioni di costruzione per evitare ritardi del progetto. Integrare misure di sicurezza, come le rilasci di porte di emergenza e l'illuminazione interna conforme, durante la pianificazione di soddisfare le norme di sicurezza OSHA e regionali sin dall'inizio.
Fare un passo 7: Installazione, Test, e messa in servizio
Controlli di pre -installazione
- Conferma il pavimento del livello, drenaggio adeguato, e accesso senza ostacoli per pannelli e attrezzature.
- Verificare che tutte le connessioni elettriche e di refrigerazione siano preparate a codificare.
Gruppo e sigillazione del pannello
- Allinea i pannelli con cura; Applicare guarnizioni continue per prevenire perdite d'aria e ingresso di umidità.
- Fissate i telai delle porte e assicurarsi carichi di cerniera/binari.
Refrigerazione e collegamenti elettrici
- Seguire le specifiche del produttore per il cablaggio, Carica del refrigerante, e test di pressione.
- Installare gli allarmi e le maniglie di rilascio di emergenza per soddisfare gli standard di sicurezza.
Test e messa in servizio
- Eseguire il rilevamento delle perdite, Calibrazione del termostato, e test di stabilità della temperatura di 24 ore.
- Documenta i risultati per l'ispezione normativa e i futuri registri di manutenzione.
Manutenzione e ottimizzazione delle prestazioni dopo la personalizzazione
Una manutenzione efficace garantisce che la tua passeggiata personalizzata nel dispositivo di raffreddamento funzioni in modo efficiente e ha una lunga durata di servizio. Segui questi passaggi chiave:
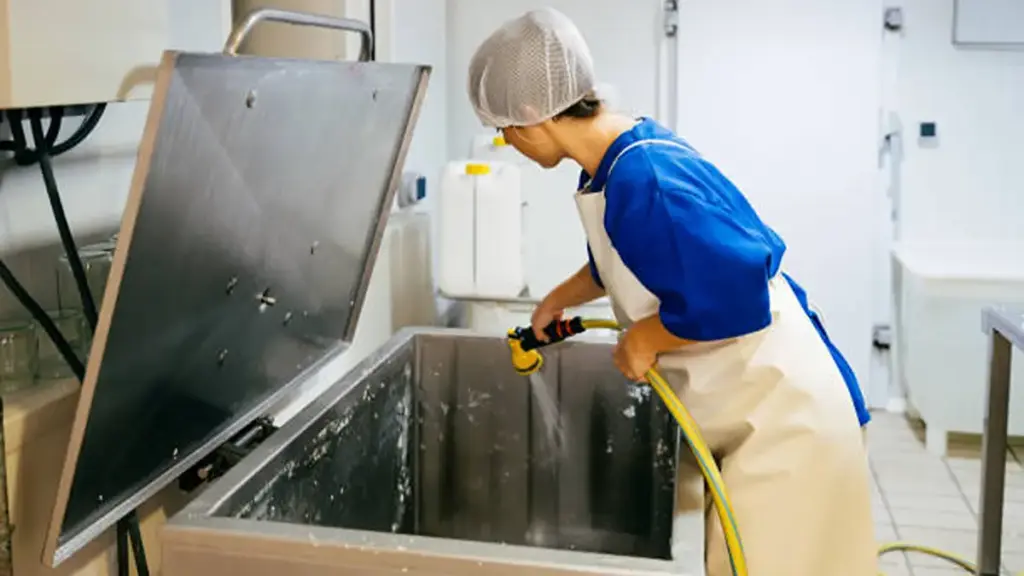
- Pulizia regolare: Pulisci superfici interne, bobine per evaporatore, e drena mensilmente per prevenire l'accumulo di muffe e ghiaccio.
- Ispezionare i sigilli e le porte: Controllare le guarnizioni delle porte e le dipendenti settimanalmente per garantire la tenuta ermetica e la chiusura adeguata; Sostituire prontamente le guarnizioni danneggiate.
- Monitorare la temperatura e l'umidità: Usa i sensori digitali per tenere traccia delle condizioni; Calibrare i termostati trimestralmente per la precisione.
- Controllare il sistema di refrigerazione: Pianifica ispezioni professionali in modo biannamente per valutare i livelli di refrigerante, funzione del compressore, e flusso d'aria.
- Mantenere componenti elettrici: Esamina il cablaggio e i controlli ogni anno per identificare l'usura o il danno che potrebbero causare guasti.
- Attività di manutenzione del documento: Mantieni i registri dettagliati delle ispezioni, riparazioni, e calibrazioni per supportare i reclami di garanzia e la conformità normativa.
Aderendo a questi passaggi ottimizza l'uso di energia, Previene costosi guasti, e mantiene la qualità del prodotto nel tempo.
Come scegliere il produttore giusto per la tua passeggiata personalizzata nel dispositivo di raffreddamento

Selezionare il produttore giusto è fondamentale per una passeggiata personalizzata di successo nel progetto più fresco. Le considerazioni chiave includono:
- Esperienza con i refrigeratori specifici del settore (Foodservice, prodotti farmaceutici, trasformazione della carne)
- Conformità con certificazioni come NSF e UL
- Capacità di offrire efficienza energetica, Materiali e componenti durevoli
- Servizio clienti reattivo e supporto per l'installazione affidabile
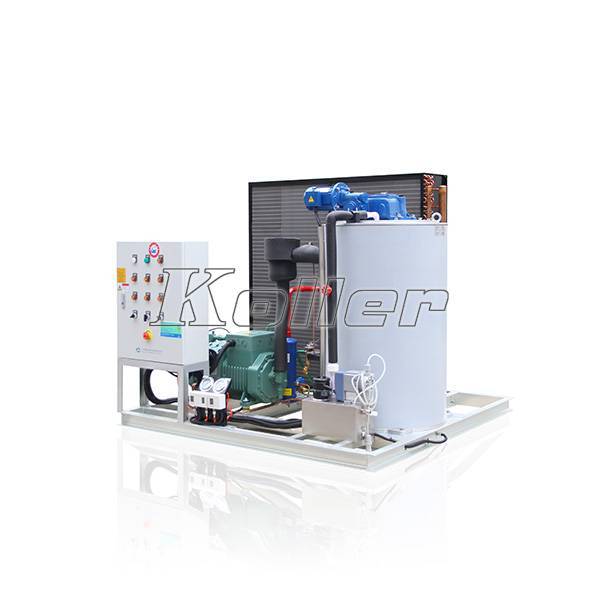
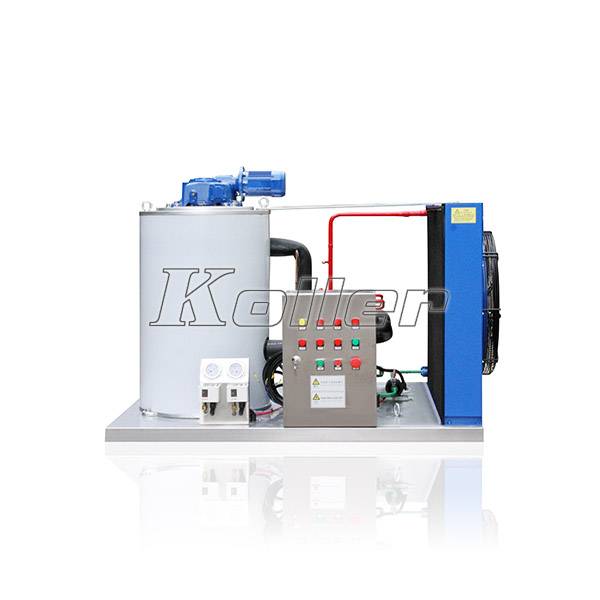
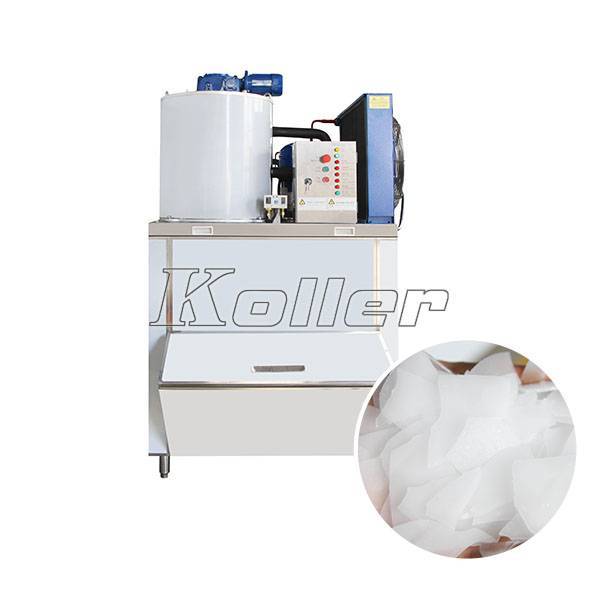
Koller Offre altamente flessibile Personalizzazione più fredda, La temperatura di supporto varia da -60 ° C a +5 ° C. La capacità e le dimensioni giornaliere sono completamente regolabili alle esigenze operative, Mentre i pannelli della camera fredda sono disponibili in opzioni di spessore di 100-150 mm per isolamento e durata ottimali, Garantire prestazioni precise tra diversi requisiti di archiviazione.
Pronto per aggiornare il tuo spazio di archiviazione? Lascia che Koller ti aiuti a farlo bene la prima volta.
FAQ
Quanto costerebbe costruire un walk -in frescor?
I costi in genere vanno da $5,000 per piccole unità a finire $25,000 Per grandi refrigeratori commerciali, a seconda delle dimensioni, Materiali, e caratteristiche di avvantaggi energetici.
Come organizzare un dispositivo di raffreddamento della birra walk -in?
Organizza gli scaffali per marchio o stile, Mantieni i prodotti popolari a livello degli occhi, Lascia i navali chiari per il flusso d'aria, e ruotare regolarmente lo stock per mantenere la freschezza e la consistenza della temperatura.
Come creare il tuo dispositivo di raffreddamento?
Pannelli isolati a progettare, Scegli un sistema di refrigerazione appropriato, Sigilla lacune per prevenire la perdita termica, e segui i codici locali; Input professionale garantisce efficienza e affidabilità a lungo termine.
Qual è l'aspettativa di vita di un walk -in più fresco?
Con una manutenzione adeguata, I refrigeratori di walk -in di qualità generalmente durano 15-20 anni, Sebbene l'integrità dell'isolamento e la manutenzione della refrigerazione influiscano in modo significativo sulla durata del servizio.