You invested in a commercial flake ice machine with a specific daily capacity in mind. But if you are constantly running short of ice during peak production hours, that bold number on the nameplate isn’t helping you.
The truth is, manufacturers rate these machines based on perfect, climate-controlled laboratory conditions. Put that same unit in a warm processing facility with varying water temperatures, and the actual yield can drop significantly.
If you suspect your machine is underperforming, you need hard data—not guesses. This guide shows you exactly how to measure your real-world continuous ice output, pinpoint the factors dragging down your production, and get your equipment back to peak efficiency.
Why Actual Flake Ice Output Falls Short of Rated Capacity
Manufacturers calculate the nameplate capacity of a commercial ice machine under ideal, controlled laboratory conditions. For most global brands, this means a stable room temperature of 25°C and a water supply temperature of 15°C.
When you place that same machine in a busy commercial environment, its output will naturally fluctuate. Understanding the variables that influence continuous ice production is vital for optimizing your equipment. Here are the primary reasons behind a reduced daily yield:
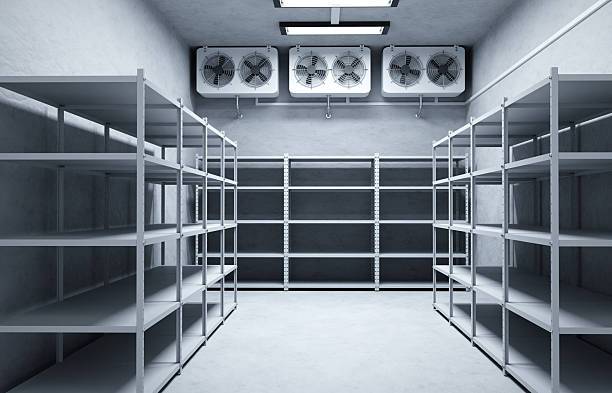
- Elevated Ambient Temperatures and Poor Ventilation: The refrigeration system loses efficiency as room temperatures rise above standard testing conditions. Air-cooled condensers are especially vulnerable. If you place them in a hot, cramped room without proper clearance to breathe, the recirculated hot air can reduce daily output by 20% to 30%.
- Warm or Inconsistent Water Supply: The refrigeration cycle simply takes longer to freeze warm incoming water. Flake ice machines also require a steady, uninterrupted water flow over the evaporator drum. Low water pressure causes uneven freezing and a lower overall yield.
- Cooling System Limitations: Water-cooled systems are generally more stable in hot climates, but they rely heavily on a consistent water source. Air-cooled machines are easier to install, yet highly sensitive to the immediate room temperature.
- Scale Buildup and Insufficient Maintenance: Hard water leaves mineral deposits on the evaporator surface over time. This scale acts as an insulator. It blocks efficient heat transfer and forces the machine to consume more energy to produce less ice.
Essential Tools for Measuring Continuous Ice Production
Cube ice machines drop ice in batches. Flake ice machines, on the other hand, produce ice continuously. To accurately measure this ongoing yield, you need the following tools:
- Large Collection Container: You need this to catch all the ice produced during the test period. Ensure it is large enough to hold at least 15 minutes of continuous output without overflowing.
- Digital Scale: This allows you to accurately weigh the collected ice. A scale with a tare function is ideal. It lets you easily zero out the container’s weight before starting your test.
- Stopwatch: You must strictly time the collection interval. Even a simple smartphone timer works perfectly, provided you start and stop it exactly as you position the container.
- Thermometer: Use this to record the exact ambient air and water temperatures during your test. You will need these specific numbers later to accurately compare your results against the manufacturer’s spec sheets. A fast-reading digital probe thermometer is highly recommended.
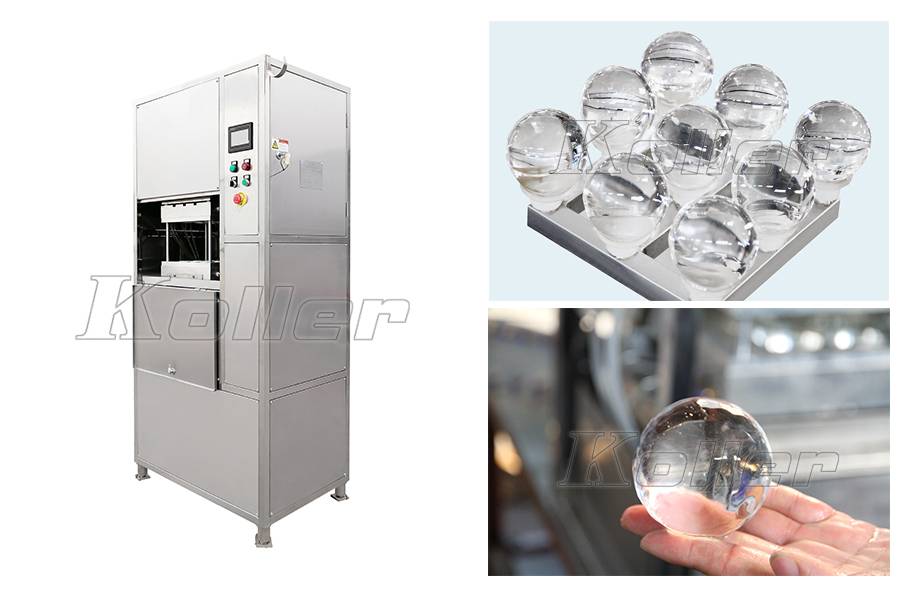
Industry-Leading Flake Ice Machines: Unmatched Preservation & Profit.
Step-by-Step Method to Calculate 24-Hour Flake Ice Production
Because flake ice is scraped continuously off the evaporator drum, you cannot just count batch cycles. The testing method relies on a timed sample instead. Follow these steps to measure your machine’s real-world yield accurately:
Step 1: Stabilize the Machine
Do not take any measurements immediately after turning the unit on. Let the ice machine run for at least 30 minutes. This warmup period allows the refrigeration system and the internal evaporator drum to reach stable freezing temperatures. It ensures your test reflects normal daily operations rather than a cold start.
Step 2: Record the Test Conditions
Use your thermometer to carefully record the ambient room temperature and the temperature of the incoming water supply. Documenting these figures is a crucial step. You will use them later to evaluate your machine’s performance against the manufacturer’s environmental adjustment charts.
Step 3: Start the Timed Collection
Place your empty, pre-weighed collection container directly under the ice chute. The moment the ice begins to fall continuously into the container, start your stopwatch. This begins the exact timing of the production flow.
Step 4: Weigh the Net Ice Output
Let the machine run undisturbed for exactly 15 minutes. Once the time is up, immediately pull the container away from the ice chute. Weigh the collected ice on your digital scale. Next, subtract the weight of the empty container. This gives you your net ice weight for the 15-minute interval.
Step 5: Calculate the 24-Hour Yield
Take your 15-minute net weight and simply multiply this figure by 4. This gives you your hourly production rate. Then, multiply that hourly rate by 24 to estimate your total 24-hour yield. You will use this final number to evaluate your machine’s real-world performance.
How to Compare Actual Output with Rated Capacity Correctly
Do not panic if your tested 24-hour yield is lower than the bold number on the front of the machine. To accurately assess your equipment’s health, you must adjust for reality using the correct technical documentation.
Locate the Manufacturer’s Performance Matrix
Do not rely solely on the general nameplate sticker. You need to find the detailed environmental adjustment chart, often called a performance matrix. You can usually find this in the machine’s technical manual or engineering spec sheet. This matrix outlines exactly how much ice the machine is mechanically designed to produce across various combinations of air and water temperatures.
Understand Standard Rating Conditions
Most nameplate capacities display production based on standardized laboratory conditions. For example, the standard set by AHRI, the Air-Conditioning, Heating, and Refrigeration Institute, uses an ambient temperature of 32°C and water at 21°C. If your facility operates at a cooler 21°C air and 10°C water, your machine will actually produce more than the AHRI rating. This is exactly why checking the matrix is essential for a true baseline.
Cross-Reference Your Specific Temperatures
Take the ambient room temperature and water supply temperature you recorded earlier. Find their intersection on the manufacturer’s performance matrix. This specific number is your true expected yield. It tells you what the machine should currently be producing in your exact facility environment, rather than the maximum advertised capacity.
Account for Acceptable Margins of Error
Compare the expected capacity from the matrix to your calculated 24-hour yield. Keep in mind that a performance deviation of 5% to 10% is generally acceptable in real-world commercial settings. Minor factors like local voltage fluctuations, varying humidity levels, and slight mineral scaling will naturally cause small efficiency drops compared to a perfectly clean laboratory test.
Troubleshooting Common Causes of Low Ice Production
If your calculated yield is significantly lower than the adjusted capacity matrix, the issue is likely mechanical. Run through this technical diagnostic checklist:
- Ice Scraper Blade Wear and Alignment: Flake ice production relies heavily on the internal cutter blade cleanly shaving ice off the drum. If the blade is dull, damaged, or misaligned, a layer of ice remains on the evaporator. This residual ice acts as a thermal insulator and drastically slows down the freezing of new water.
- Brine Dosing System Failure: Many industrial flake ice machines utilize a saltwater dosing pump. Mixing a tiny amount of salt into the water supply weakens the ice structure just enough for it to flake off the drum smoothly. If the brine pump fails or runs out of salt, the ice becomes too hard. The scraper blade then struggles, and production plummets.
- Condenser Inefficiency and High Head Pressure: For air-cooled units, clogged condenser fins restrict airflow. This causes the compressor to run with excessively high head pressure, which slashes cooling capacity. For water-cooled systems, mineral scale buildup inside the condenser tubes will similarly choke the heat exchange process.
- Clogged Water Distribution Pan: Water must flow evenly over the entire surface of the freezing drum. If scale or debris blocks the distribution holes, only part of the drum produces ice. This cuts your yield proportionally.
- Refrigerant Leaks or TXV Malfunction: A microscopic refrigerant leak or a stuck thermostatic expansion valve will starve the evaporator. This causes uneven freezing and requires a certified HVAC technician to diagnose the system.
Final Thoughts
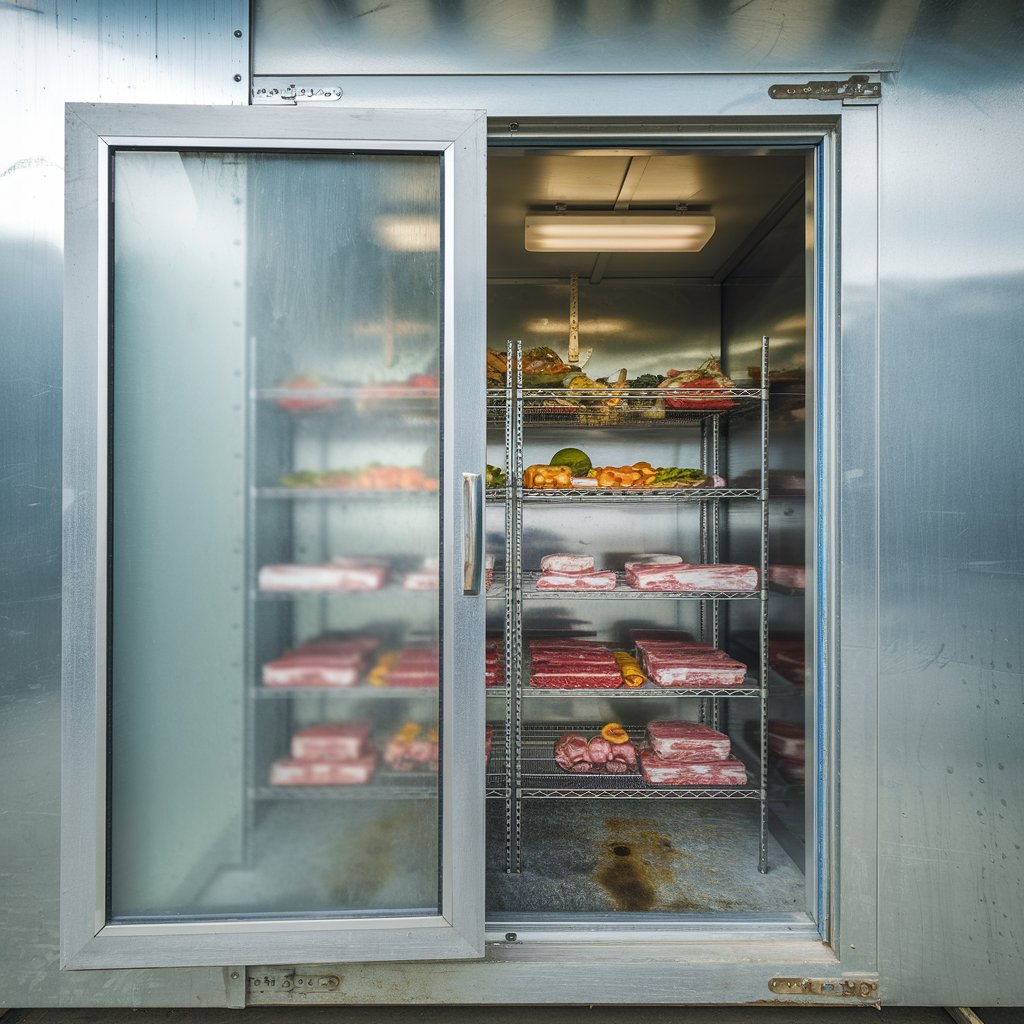
Verifying the true production of a commercial flake ice machine requires a clear understanding of continuous ice generation and environmental impacts. By regularly testing your output and maintaining clean condensers and evaporators, you can ensure your equipment consistently meets your operational demands and avoids hidden capacity loss.
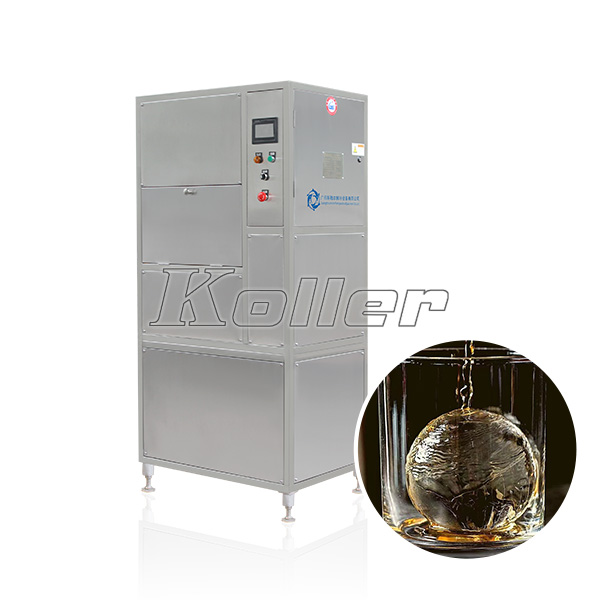
Need Reliable, High-Capacity Ice Production for Your Business?
Selecting the right machine capacity and cooling system for your specific climate is a critical decision. At Koller, we specialize in engineering heavy-duty refrigeration equipment and flake ice machines designed to perform reliably in demanding, real-world commercial conditions.
👉 Contact our technical team for an accurate production calculation or a customized machine recommendation today.